
Three-Layer Chocolate Blackout Cake with Pudding Filling 🖤🍫
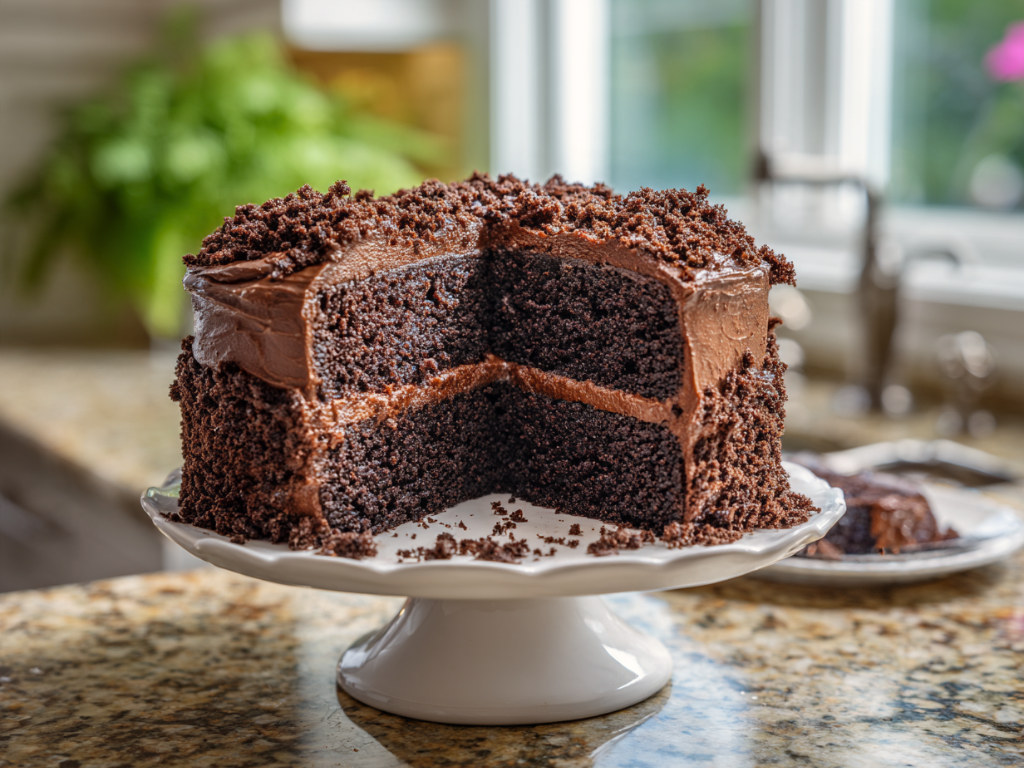
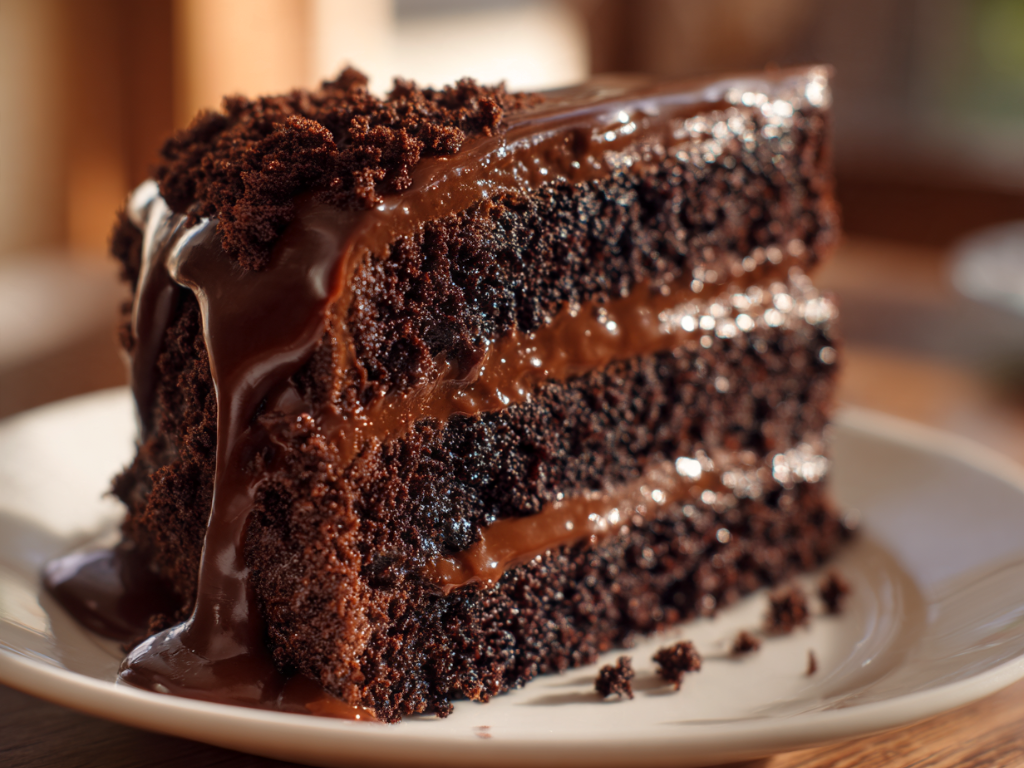
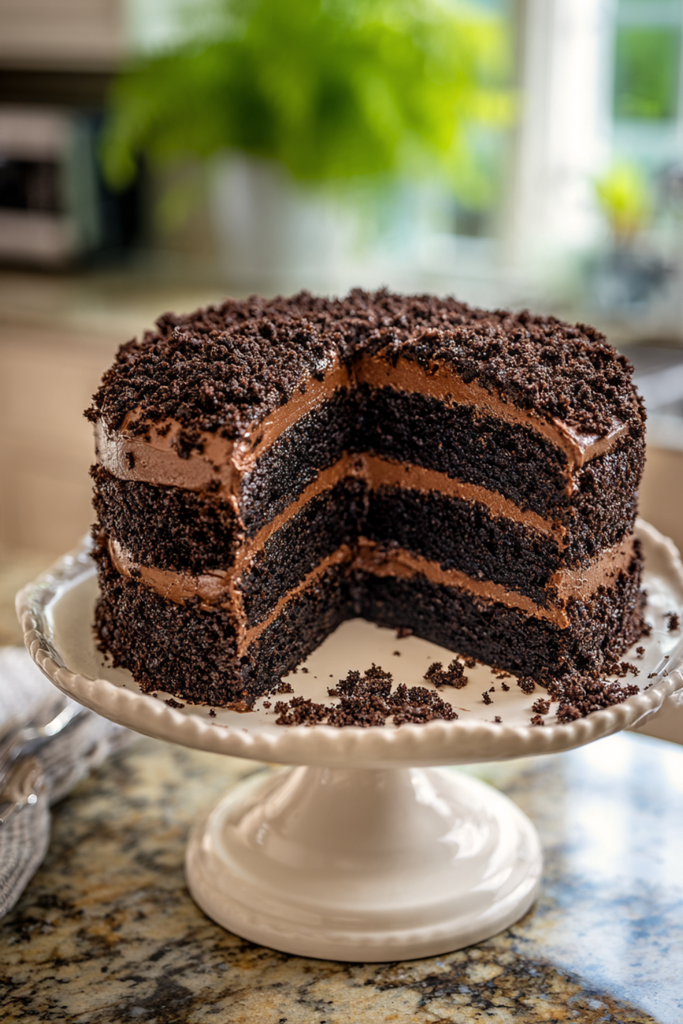
Hi, I’m Raya, welcome back to my kitchen! 👋 Today I’m sharing a dessert that makes chocolate lovers weak in the knees, my chocolate blackout cake. It stacks three moist chocolate layers with a thick, silky homemade chocolate pudding filling, and the whole thing is covered in a blanket of chocolate cake crumbs. Inspired by the legendary Brooklyn blackout cake, it is deep, fudgy, and not overly sweet. If you think you have tasted every chocolate cake out there, this one is going to surprise you! Grab your saucepan and your biggest cake stand, and let us make something truly unforgettable together.
Why You’ll Love This Recipe 💕
- Silky Pudding Filling: Real homemade chocolate pudding replaces buttercream, so every bite is creamy, rich, and light at the same time.
- Triple Chocolate Texture: Moist cake, soft pudding, and a crunchy crumb coating give you three textures in one slice.
- Not Too Sweet: Cocoa and dark chocolate balance the sugar, which makes it perfect for serious chocolate fans.
- Make-Ahead Friendly: The pudding can be cooked a day ahead, so assembly is quick and stress-free.
- A True Showstopper: The crumb-covered look is rustic, dramatic, and wonderfully easy to achieve.
Key Ingredients for Chocolate Blackout Cake 🛒
For the Chocolate Cake Layers
- All-Purpose Flour (2 cups / 250g): Gives the layers a soft, sturdy crumb.
- Light Brown Sugar (1 cup / 200g, packed) and Granulated Sugar (3/4 cup / 150g): Brown sugar adds moisture and a hint of caramel.
- Unsweetened Cocoa Powder (3/4 cup / 75g): The base of the deep chocolate flavor.
- Baking Soda (1 1/2 tsp), Baking Powder (1 tsp), Fine Sea Salt (1 tsp): For lift and balance.
- Large Eggs (2, room temperature), Buttermilk (1 cup / 240ml), Vegetable Oil (1/2 cup / 120ml), Vanilla Extract (2 tsp): For a tender, moist crumb.
- Hot Coffee (1 cup / 240ml): Deepens the chocolate flavor. Hot water works too.
For the Chocolate Pudding Filling and Frosting
- Whole Milk (3 cups / 720ml): Gives the pudding its creamy body.
- Granulated Sugar (1 cup / 200g): Sweetens the pudding.
- Unsweetened Cocoa Powder (1/2 cup / 50g): For deep chocolate flavor.
- Cornstarch (1/3 cup / 40g): Thickens the pudding so it can hold the layers.
- Fine Sea Salt (1/2 tsp): Enhances the chocolate.
- Bittersweet Chocolate (6 oz / 170g, finely chopped): Makes the pudding glossy and rich.
- Unsalted Butter (4 tbsp / 57g) and Vanilla Extract (2 tsp): For smoothness and flavor.
For the Crumb Coating
- Trimmed Cake Layers: The leftover domes from leveling the cakes, dried until crisp.
Baker’s Note: The crumb coating is made from the cake itself! Trimming the tops of the layers gives you all the crumbs you need, so nothing goes to waste. If you love chocolate cakes, you may also like my Black Velvet Cake and my Ding Dong Cake.
Step-by-Step Instructions 👩🍳
Step 1: Bake the Chocolate Layers
Preheat your oven to 350°F (175°C). Grease three 8-inch (20 cm) round cake pans and line the bottoms with parchment paper. Whisk the flour, both sugars, cocoa, baking soda, baking powder, and salt in a large bowl. Add the eggs, buttermilk, oil, and vanilla, and mix until smooth. Whisk in the hot coffee. The batter will be thin, which is exactly right. Divide it between the pans and bake for 24 to 28 minutes, until a toothpick comes out with a few moist crumbs. Cool 10 minutes in the pans, then cool completely on a wire rack.
Step 2: Cook the Chocolate Pudding
Whisk the sugar, cocoa, cornstarch, and salt in a medium saucepan. Slowly whisk in the milk until smooth. Cook over medium heat, whisking constantly, for 6 to 8 minutes until the pudding thickens and bubbles. Keep cooking for 1 more minute, then remove from the heat. Stir in the chopped chocolate, butter, and vanilla until glossy and smooth. Pour the pudding into a bowl, press plastic wrap directly on the surface, and chill for at least 3 hours until very thick.
Step 3: Prepare the Crumbs
Level the cake layers with a serrated knife. Crumble the trimmings into small, coarse crumbs and spread them on a baking sheet. Dry them in a 300°F (150°C) oven for 10 minutes, then let them cool completely.
Step 4: Stack the Layers
Place the first layer on a cake stand and spread about 1 cup of chilled pudding on top. Add the second layer and another cup of pudding, then top with the third layer.
Step 5: Frost the Cake
Give the cold pudding a quick stir, then cover the top and sides of the cake with a smooth, even layer of the remaining pudding.
Step 6: Add the Crumb Coating
Press the dried crumbs onto the sides and sprinkle them generously over the top. Chill the cake for 30 minutes so everything sets before slicing.
Baker’s Tips for Success 💡
- Boil the Pudding for a Full Minute: Cornstarch needs to bubble to reach full thickness. Pudding that is not boiled long enough stays runny.
- Chill the Pudding Completely: Warm pudding makes the layers slide, so give it at least 3 hours.
- Press Plastic Wrap on the Surface: This stops a skin from forming on the pudding.
- Dry the Crumbs: Dried crumbs stay crunchy and do not turn gummy against the pudding.
- Slice with a Hot Knife: Wipe the blade between cuts for neat, clean layers.
Want to learn more about this Brooklyn classic? 🗽 Read the story behind the blackout cake and how it became a New York legend.
How to Serve Chocolate Blackout Cake 🍽️
Serve slices chilled or at room temperature. A cold glass of milk, a scoop of vanilla ice cream, or a few fresh raspberries make a lovely pairing for all that chocolate.
How to Store Chocolate Blackout Cake 🧊
- In the Refrigerator: Store the cake covered for up to 4 days because of the pudding filling.
- At Room Temperature: Leave it out for no more than 2 hours when serving.
- In the Freezer: Freeze unfrosted cake layers wrapped tightly for up to 3 months. The pudding does not freeze well, so make it fresh.
Frequently Asked Questions ❓
Why is it called blackout cake?
The cake is said to be named after the blackout drills held in Brooklyn during World War II, which fits its very dark, deep chocolate look.
Can I use instant pudding mix?
You can, but homemade pudding gives a much richer flavor and a thicker texture that holds the layers. If you use a mix, use less milk than the box says so it sets firmly.
Why is my pudding lumpy?
Lumps usually appear when the milk goes in too fast or the pudding is not whisked constantly. Pass it through a fine sieve before chilling to fix it.
Can I make blackout cake ahead of time?
Yes! Make the pudding and bake the layers a day ahead, then assemble the cake the next day. The flavors get even deeper after a night in the fridge.
Three-Layer Chocolate Blackout Cake
Course: DessertCuisine: AmericanDifficulty: Easy12
servings45
minutes28
minutes600
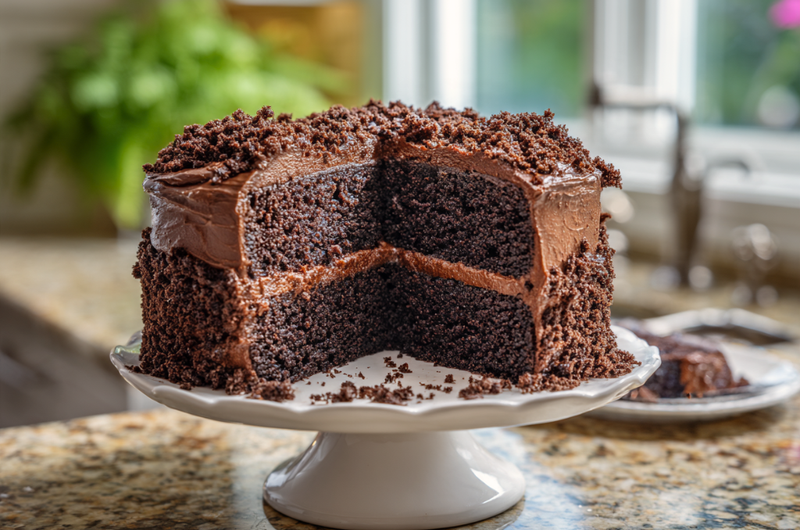
kcalThree moist chocolate layers filled and frosted with silky homemade chocolate pudding and covered with chocolate cake crumbs.
Ingredients
- For the Chocolate Cake Layers
2 cups all-purpose flour (250g)
1 cup light brown sugar (200g), packed
3/4 cup granulated sugar (150g)
3/4 cup unsweetened cocoa powder (75g)
1 1/2 teaspoons baking soda
1 teaspoon baking powder
1 teaspoon fine sea salt
2 large eggs, room temperature
1 cup buttermilk (240ml)
1/2 cup vegetable oil (120ml)
2 teaspoons vanilla extract
1 cup hot coffee (240ml)
- For the Chocolate Pudding Filling and Frosting
3 cups whole milk (720ml)
1 cup granulated sugar (200g)
1/2 cup unsweetened cocoa powder (50g)
1/3 cup cornstarch (40g)
1/2 teaspoon fine sea salt
6 oz bittersweet chocolate (170g), finely chopped
4 tablespoons unsalted butter (57g)
2 teaspoons vanilla extract
- For the Crumb Coating
1 portion trimmed cake layer tops (domes), dried until crisp
Directions
- Preheat the oven to 350°F (175°C). Grease three 8-inch (20 cm) round cake pans and line the bottoms with parchment paper. Whisk the flour, both sugars, cocoa, baking soda, baking powder and salt. Add the eggs, buttermilk, oil and vanilla and mix until smooth, then whisk in the hot coffee. Divide the batter between the pans and bake 24 to 28 minutes, until a toothpick comes out with a few moist crumbs. Cool 10 minutes in the pans, then cool completely on a wire rack.
- Whisk the sugar, cocoa, cornstarch and salt in a medium saucepan. Slowly whisk in the milk. Cook over medium heat, whisking constantly, for 6 to 8 minutes until thick and bubbling, then cook 1 more minute. Remove from the heat and stir in the chopped chocolate, butter and vanilla until glossy. Pour into a bowl, press plastic wrap on the surface and chill at least 3 hours.
- Level the cake layers with a serrated knife. Crumble the trimmings into small crumbs, spread them on a baking sheet and dry in a 300°F (150°C) oven for 10 minutes. Cool completely.
- Place the first layer on a cake stand and spread about 1 cup of chilled pudding on top. Add the second layer and another cup of pudding, then top with the third layer.
- Give the cold pudding a quick stir and cover the top and sides of the cake with a smooth, even layer of the remaining pudding.
- Press the dried crumbs onto the sides and sprinkle them generously over the top. Chill 30 minutes before slicing.
One Comment